

Colour Drenching Disasters. Mistakes That Will Ruin Your Home's Style
Colour drenching is everywhere right now – and for good reason. When done correctly, this bold trend can transform a room from bland to breath-taking, creating depth, drama, and that coveted "designer look" we all crave. But here's the thing: colour drenching is like a double-edged sword. Get it right, and you'll have visitors asking for your decorator's number. Get it wrong, and you'll be living with a costly mistake that screams amateur hour.
Don't worry! I've seen enough colour drenching disasters (and successes) to know exactly where people go wrong. My goal is to help you avoid the pitfalls that can turn this stunning trend into a style catastrophe. Plus, I'll share the insider secrets that make colour drenching work beautifully in real homes, not just on Instagram.
Let's dive into the most common colour drenching mistakes and how to avoid them. Trust me, your future self (and your home's resale value) will thank you!
Choosing the Wrong Room for Maximum Impact
The Disaster: Attempting colour drenching in rooms with poor natural light or awkward proportions, making spaces feel claustrophobic and uninviting.
Why This Happens: People get excited about the trend and dive in without considering their room's unique characteristics. Not every room is a good candidate for colour drenching.
The Fix:
Best Rooms: Dining rooms, powder rooms, bedrooms with good natural light, and studies work beautifully for colour drenching
Avoid: Small bathrooms without windows or narrow hallways.
Pro Tip: If you're unsure, start with an accent wall in your chosen colour and live with it for a week before committing to the full drench.
Ignoring the Ceiling (The Biggest Miss!)
Here's where most people get colour drenching completely wrong: they paint the walls but leave the ceiling white. This immediately breaks the "drench" effect and can make your room look unfinished or like you simply ran out of paint.
The Right Way:
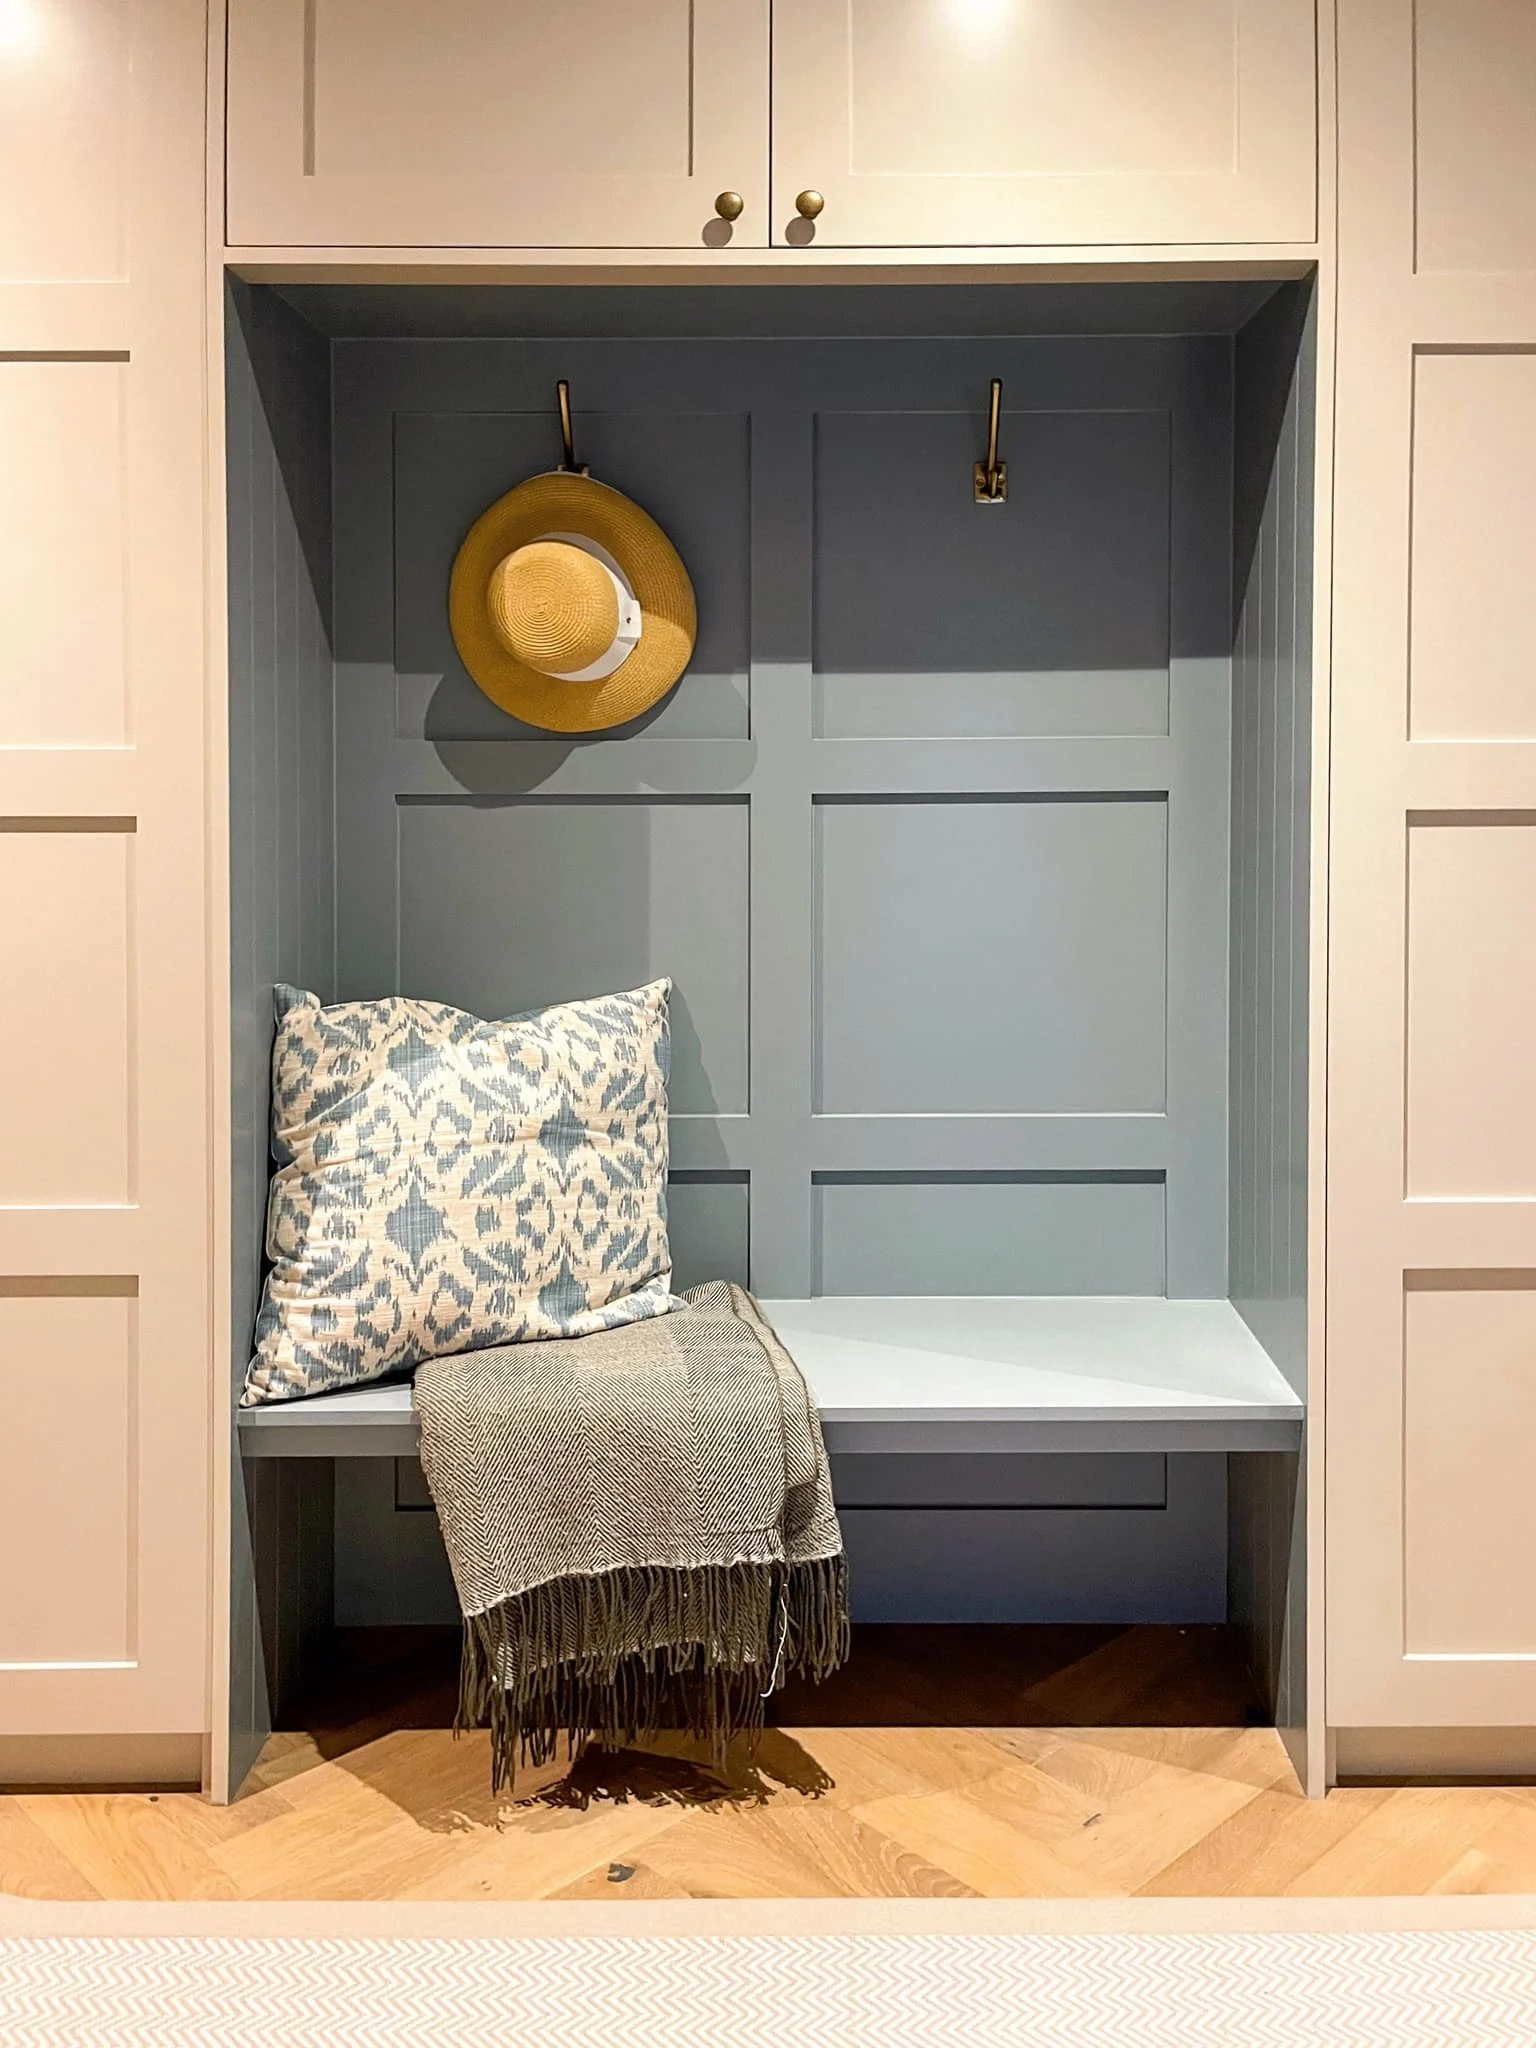
True colour drenching means painting walls, ceiling, trim, and even built-ins in the same colour family. The ceiling can be the same colour or a slightly lighter tint of your chosen hue.
Same Colour: Creates the most dramatic, cocooning effect
50% Tint: Use your wall colour mixed with 50% white for a softer ceiling that still maintains the drench effect
Never Leave White: Unless you're going for a deliberate contrast ceiling (which is a different trend entirely).
Picking Colours That Photograph Well But Live Terribly
Instagram has a lot to answer for here. That gorgeous sage green or deep navy might look stunning in perfectly lit photos, but how does it feel when you're trying to get dressed in the morning or read a book in the evening?
Colours That Often Backfire:
Deep Forest Green: Can feel oppressive without enough light
True Black: Shows every speck of dust and can feel cold
Bright Orange/Red: Overwhelming for daily living, affects sleep quality
Purple/Lavender: Often looks dated quickly and limits decor options.
Safe Bets for Colour Drenching:
Warm Blues: Navy with grey undertones, slate blue, or denim blue
Sophisticated Greens: Olive, eucalyptus, or sage with brown undertones
Rich Neutrals: Mushroom, warm grey, or greige
Warm Pinks: Dusty rose, blush, or terracotta-pink.
Forgetting About Lighting (The Make-or-Break Factor)
Colour drenching without proper lighting is like wearing a beautiful outfit in the dark – nobody can appreciate it, and you might trip over something. Dark, saturated colours absorb light, so you need to compensate with strategic lighting.
Essential Lighting for Color-Drenched Rooms:
Layer Your Lighting: Combine overhead, task, and accent lighting for depth
Warm Light Bulbs: 2700K-3000K to enhance rich colours and create ambience
Add Table and Floor Lamps: Multiple light sources prevent the cave effect
Consider Light-ColoUred Lampshades: White or cream shades reflect light better than dark ones.
Not Testing in Different Light Conditions
This is where I see people make expensive mistakes. That beautiful blue you loved at 2 PM might look completely different at 8 PM under artificial light. Or worse, it might clash horribly with your home's existing lighting.
The Professional Testing Method:
Paint large swatches (at least 2×2 feet) on different walls
Observe the colour at different times: morning, midday, evening, and night
Test under your existing light fixtures
Live with the samples for at least a week
Take photos in different lighting to see how it translates.
Overwhelming Small Spaces
Colour drenching can work in small spaces, but it requires a completely different approach. The mistake I see most often is treating a small powder room the same way you'd treat a spacious dining room.
Small Space Colour Drenching Rules:
Go Lighter Than You Think: Choose colours that are 2-3 shades lighter than what you'd use in a large room
Embrace Gloss or Semi-Gloss: Reflects light and makes spaces feel larger
Add Mirrors: Strategic mirror placement doubles the impact of your lighting
Keep Decor Minimal: Let the colour be the star, not compete with busy accessories
Neglecting the Flow to Adjacent Rooms
Your colour-drenched room doesn't exist in isolation. If it clashes dramatically with neighbouring spaces, it can make your entire home feel disjointed and poorly planned.
Creating Cohesive Flow:
Consider Sightlines: Stand in adjacent rooms and see what's visible
Use Connecting Elements: Repeat your drenched colour in small accessories in nearby spaces
Choose Complementary Colours: Adjacent rooms should harmonise, not compete
Gradual Transitions: Use a lighter version of your colour in hallways leading to the drenched room
Skimping on Paint Quality
Colour drenching shows every imperfection, every streak, every missed spot. This is not the time to save money on paint quality or application.
Investment-Grade Paint Essentials:
High-Quality Paint: Brands like Colourtrend in a ceramic matt finish, Benjamin Moore Advance, or Little Greene in Intelligent Matt.
Proper Prep Work: Fill holes, sand, prime – no shortcuts
Professional Application: Consider hiring pros for colour drenching – the finish needs to be flawless
Multiple Coats: Plan for at least three coats for even coverage.
When Colour Drenching Works Beautifully
Let me share some success stories so you can see how to get this trend right:
The Sophisticated Dining Room:
A client chose a rich, warm grey (Benjamin Moore's Kendall Charcoal) for her living/ dining, including the ceiling. We added brass fixtures, a large mirror, and warm lighting. The result? A sophisticated space that feels intimate for dinner parties or a night in front of the TV, but still looks beautiful during the day.
The Cosy Reading Nook:
Another client drenched a small home office in a soft sage green called Evergreen Fog by Sherwin-Williams. We kept the built-in bookcases the same colour, added plenty of warm task lighting, and introduced cream and natural wood tones through furniture. It's now her favourite room in the house.
Best Practices by Room Type
Bedrooms
Best Colours: Soft blues, warm greys, dusty pinks, for example Sulking Room Pink or Oval Room Blue by Farrow and Ball
Avoid: Bright reds, oranges (disrupts sleep)
Tip: Test the colour in evening light – this is when you'll use the room most.
Dining Rooms
Best Colours: Deep blues, rich greens, warm neutrals, for example Green Smoke or Dimity by Farrow and Ball
Avoid: Colours that make food look unappetizing
Tip: Install dimmers to control the mood from intimate dinners to lively parties.
Powder Rooms
Best Colours: Bold choices work here – navy, forest green, even black, for example, Dock Blue by Little Greene
Avoid: Nothing – powder rooms are perfect for experimentation
Tip: This is where you can be most adventurous since guests spend limited time here.
Home Offices
Best Colours: Colours that promote focus – greens, blues, warm greys, for example Baluster by Little Greene
Avoid: Overstimulating colours like bright yellow or red
Tip: Consider how the colour looks on video calls if you work from home.
Professional Insider Tips
The Designer's Secret Formula:
Here's something most DIYers don't know: successful colour drenching follows the 70-20-10 rule, even within the same colour family.
70%: Your main colour (walls, ceiling)
20%: A lighter or darker version of that colour (trim, built-ins)
10%: Accent colours that complement (artwork, pillows, accessories)
Other Professional Secrets:
Use Color-Matched Primer: Tint your primer to match your paint colour for better coverage
Paint Outlets and Switch Plates: Don't let white outlets break the drench effect
Consider the Architecture: Colour drenching works best in rooms with interesting architectural details
Plan for Touch-Ups: Buy extra paint and keep detailed records of the colour formula.
Budget-Smart Colour Drenching
Colour drenching doesn't have to break the bank, but there are strategic places to invest and save:
Invest In:
High-quality paint (it's most of what people see)
Professional colour consultation
Proper lighting fixtures
Quality brushes and rollers.
Save On:
Accessories (these can be changed easily)
Furniture (neutral pieces work with bold walls)
Window treatments (simple styles work best)
Artwork (the walls become the art).
Ready to Transform Your Space?
Now that you know how to avoid the common colour drenching disasters, you might be wondering what other design elements could complement your bold new look. Here are some natural next steps to continue your home transformation journey:
→ Explore More Design Tips:
For the specifically Irish version of our colour drenching conversation — colours that work in our light, the two-direction test, and where drenching is the wrong answer — read the follow-up post here.
→ Need Professional Help?
If you're feeling overwhelmed by colour choices or worried about making expensive mistakes, remember that you don't have to do this alone. Explore our complete room transformation packages for a full makeover.
→ Join Our Design Community:
Follow us on Instagram for daily design inspiration and colour drenching successes
Subscribe to our newsletter for weekly decorating tips and trend updates
Share your colour drenching transformation using #ColorDrenchingSuccess
What's your biggest concern about colour drenching?